Simple Steps to Soothe the Necessary Evil of Sanding
 Many do-it-yourself projects require sanding, either by hand or by power sander. |
But even a dedicated do-it-yourselfer may balk at one of the most dreaded aspects of home improvement and decorating projects — sanding.
Simply stated, sanding can be hard work, even if you use a power tool to do it. Yet it's a necessary evil for many DIY projects and forgoing it can mean you end up with less-than-perfect results. Nearly every decorating or home improvement project that calls for sanding will look better if you actually do it — and do it properly.
Here are some simple steps to ease the pain and labor of sanding:
Step 1: Embrace Your Sanding Destiny
From spackling and smoothing dents, dings and nail holes before you paint a wall to refinishing a favorite piece of furniture, sanding is a necessary part of a good DIY job. Proper prep can help make virtually any project look better when you're finished, so think of sanding as the basic foundation of doing a good job.
Step 2: You've Got to Have Grit
It's important to use the right grit of sandpaper for your job. Generally, it's best to sand multiple times, starting with the coarsest grit and finishing with the finest. A typical grit progression would be 80 to 120 to 220 for many projects.
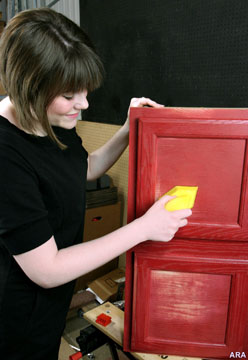
Step 3: Go with the Grain
For the best finish, it's important to follow the grain of the material, especially when dealing with wood. By following the grain, you minimize visible scratches on the surface as well as improve the overall final finish.
Step 4: Tool Up
There's no shame in using power sanders whenever possible. Most popular sanding tools include orbital motion (for overall surfaces) and detail capabilities for corners and hard-to-reach spots. If you do a large project or many projects, it's probably worth it to invest in a power sander. Or, you can rent one only when you need it if you don't do a lot of projects.
Step 5: Mind Your Fingers
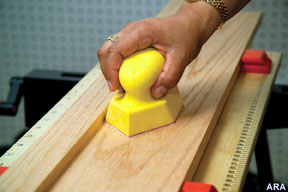 Specially designed tools, such as the Zip Sander, can make the chore easier. |
A better alternative is to use a sanding device like the Zip Sander that is designed to make hand sanding an easier, finger-sparing activity. The handle fits into the hand, reducing fatigue and protecting your fingers. A hook-and-loop system, similar to that found on power sanders, securely holds the sandpaper in place while you're working and makes changing paper simple and easy. Visit www.zipsander.com to learn more.
A home you can be proud of never goes out of style. Almost every home improvement project, whether you are painting, refinishing or remodeling, will start with some sanding … and sometimes end with more sanding. Following a few simple rules, and having the right tools at hand, can make the process easier and produce results that will do any do-it-yourselfer proud.


